Installing and using TensorFlow 2.3.0 on Google Colab
TensorFlow 2.3.0 is released with major features and improvement aiming to ease the development of AI applications fast. In TensorFlow 2.3.0 tf.data updated and comes with two new mechanisms a) snapshot and b) tf.data service. These two new mechanisms are added to solve the bottlenecks associated with the input pipeline, which also saves resources and thus improving the performance. There are many changes and improvements that comes with TensorFlow 2.3.0. In this tutorial we are going to install TensorFlow 2.3.0 on Google Colab.
What are the steps of installing TensorFlow 2.3.0 on Google Colab?
Google Colab is online service which allows the developers to use the CPU and GPU from Google for running their machine learning applications. This environment is free and available for developers for running and testing their applications. There are limitation for using this service as it provide access to only one GPU with limited memory of 12GB, while TPU provides 64GB RAM. Users can use the environment for max of 12 hours continuously. After 12 hours the system is disconnected and developers will have to connect it again to use the system. The Google Colab is best environment for learning and experimenting with the machine learning using TensorFlow.
Steps of using Google Colab are:
Step 1: You should have Google Gmail account. You can use your email address to login to Google Colab for experimenting with the machine learning.
Step 2: Login to your Gmail and then navigate to the https://colab.research.google.com/notebooks/intro.ipynb#recent=true , where you will be able to create you Python code in Google Colab environment.
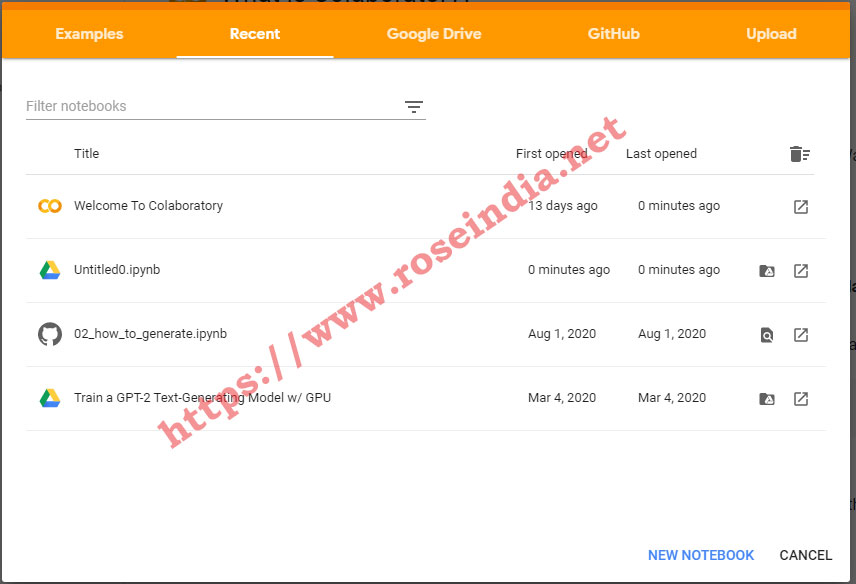
Step 3: Create a new Notebook by clicking on the "NEW NOTEBOOK" option. This will open a new notebook where you can write your code.
Step 4: Finally Google Colab will present you the note book where you can write your Python code and run on the Google Colab environment
This way you can easily use Google Colab for experimenting with TensorFlow 2.3.0 and make your sample examples.
Steps of installing TensorFlow 2.3.0 on Google Colab
Now we will learn how to install TensorFlow 2.3.0 on Google Colab environment.
Step 1: Create new note book
First login to your Gmail and navigate to https://colab.research.google.com/notebooks/intro.ipynb#recent=true and then create a NEW NOTEBOOK as shown below:
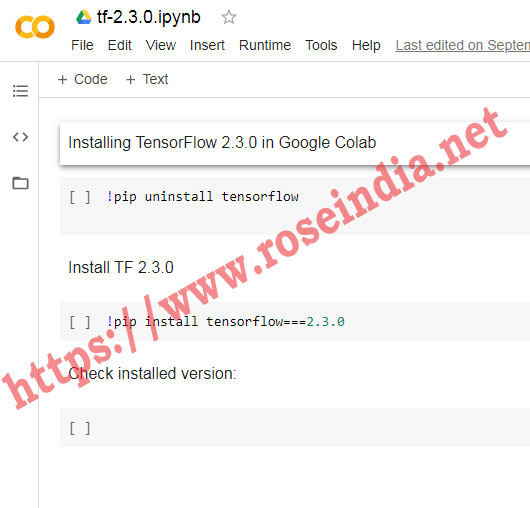
Step 2: Uninstall old TensorFlow from Google Colab
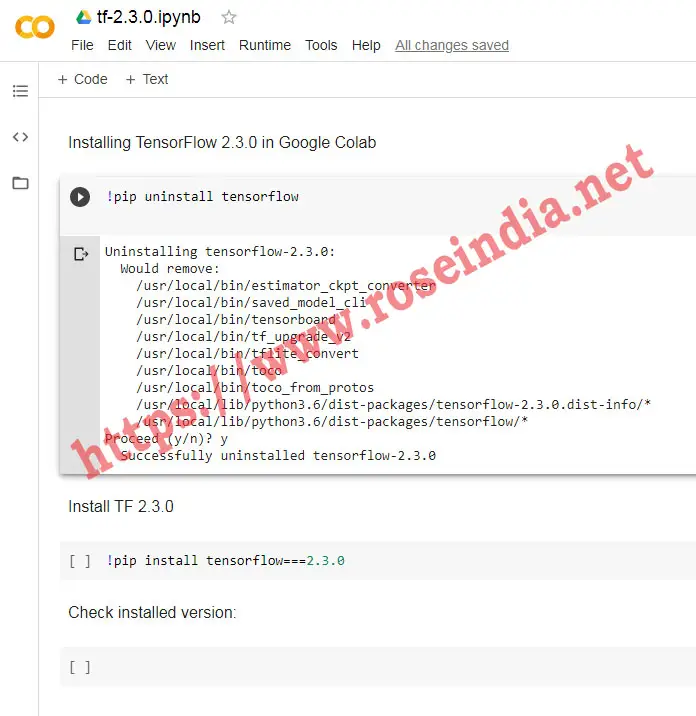
If you have previously installed TensorFlow then you should first uninstall it with following command:
!pip uninstall tensorflow
In the command windows press Ctrl+Enter to execute the command. Or you can click on the run button.
Here is the screen shot of the command executed on the Google Colab:
Step 3: Install TensorFlow 2.3.0 on Google Colab
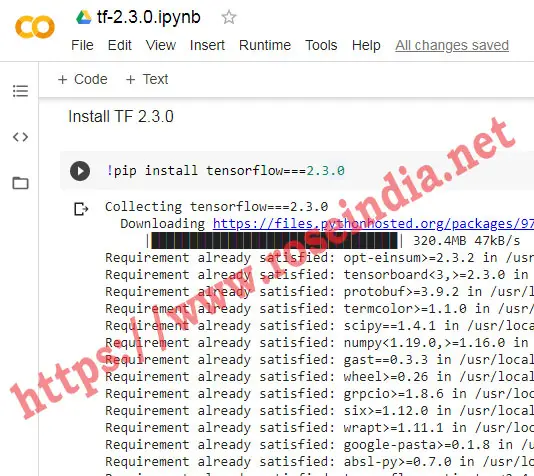
The installation process is very easy you just have to run the following command in Google Colab notebook:
!pip install tensorflow===2.3.0
Above command will install TensorFlow 2.3.0 on Google Colab as shown below:
Step 4: Check TensorFlow version on Google Colab
Finally you have to check the version of TensorFlow installed on your Google Colab environment. You can run following code in the notebook:
import tensorflow as tf
print(tf.__version__)
You will get the version as 2.3.0 as shown below:
In this section we have learned to install the TensorFlow 2.3.0 on Google Colab. You can follow the same steps to install it on your own development environment.
Check more tutorials at: