
This Java Tutorial is all about creating Images with the use of graphics in Java. For this we have to import awt and swing package in our Java code.

Noise Image in Graphics


This Java Tutorial is all about creating Images with the use of graphics in Java. For this we have to import awt and swing package in our Java code. In this tutorial you will learn how to create a noise image in graphics. Now lets find out what we have defined in this code for creating a noise image...
A primitive data type byte: primitive data type byte is defined for containing the image data and a class DataBuffer defines the data storage formats which are used in various image operations.
The object of DataBuffer class is then passed to the constructor of class WritableRaster with height, width of the image. WritableClass is extended from the Raster class which provides pixel writing capabilities and also store pixels. To render an image, the pixel values is translated into color components and alpha components by the class ColorModel. The BufferedImage class is comprised of ColorModel class and Raster class. It describes the buffer of image data.
To generate a stream of pseudorandom numbers, Random class is called. To start the thread, new Thread(this).start() is called. The method random.nextBytes(b) generates the random bytes and place them into the specified byte array. Thread.sleep() blocks the current thread for the specified number of milliseconds.
The method graphics.drawImage() draws the specified image.
Here is the code of NoiseImage.java
import java.awt.*;
|
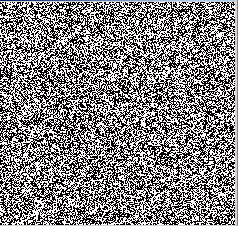
Image will be displayed as:
Steps to run the program:
1. Open the command prompt
2. Select your specific folder
3. Type javac filename.java (where file name is the name of your file)
4. Now Java filename
After running your program you will be able to see a noise image that we have created in java using graphics.