Spring Handling Form Request
In this tutorial you will learn that how to handle the form request in Spring MVC
In this tutorial you will learn that how to handle the form request in Spring MVCSpring Handling form Request
By help of this tutorial we are going explain the flow of the form data in spring MVC.
For running this tutorial you need to include the following jar files
commons-fileupload-1.1.1.jar
commons-io-1.2.jar
commons-logging-1.1.1.jar
hibernate-validator-4.0.2.GA.jar
jstl-1.2.jar
log4j-1.2.14.jar
servlet-2.3.jar
slf4j-api-1.5.6.jar
slf4j-log4j12-1.5.6.jar
spring-asm-3.0.3.RELEASE.jar
spring-beans-3.0.3.RELEASE.jar
spring-core-3.0.3.RELEASE.jar
spring-expression-3.0.3.RELEASE.jar
spring-web-3.0.3.RELEASE.jar
spring-webmvc-3.0.3.RELEASE.jar
validation-api-1.0.0.GA.jar
At first configure the web.xml file and dispatcher-servlet.xml file as
web.xml
<?xml version="1.0" encoding="UTF-8"?>
<web-app id="WebApp_ID" version="2.4"
xmlns="http://java.sun.com/xml/ns/j2ee" xmlns:xsi="http://www.w3.org/2001/XMLSchema-instance"
xsi:schemaLocation="http://java.sun.com/xml/ns/j2ee http://java.sun.com/xml/ns/j2ee/web-app_2_4.xsd">
<display-name>HandlingSpringFormRequest</display-name>
<welcome-file-list>
<welcome-file>index.jsp</welcome-file>
</welcome-file-list>
<servlet>
<servlet-name>dispatcher</servlet-name>
<servlet-class>org.springframework.web.servlet.DispatcherServlet</servlet-class>
<load-on-startup>1</load-on-startup>
</servlet>
<servlet-mapping>
<servlet-name>dispatcher</servlet-name>
<url-pattern>*.htm</url-pattern>
</servlet-mapping>
</web-app>
dispatcher-servlet.xml
<?xml version="1.0" encoding="UTF-8"?>
<beans xmlns="http://www.springframework.org/schema/beans"
xmlns:xsi="http://www.w3.org/2001/XMLSchema-instance" xmlns:p="http://www.springframework.org/schema/p"
xmlns:context="http://www.springframework.org/schema/context"
xmlns:mvc="http://www.springframework.org/schema/mvc"
xsi:schemaLocation="
http://www.springframework.org/schema/beans
http://www.springframework.org/schema/beans/spring-beans-3.0.xsd
http://www.springframework.org/schema/context
http://www.springframework.org/schema/context/spring-context-3.0.xsd
http://www.springframework.org/schema/mvc
http://www.springframework.org/schema/mvc/spring-mvc-3.0.xsd">

<!-- Enable annotation driven controllers, validation etc... -->
<mvc:annotation-driven />
<context:component-scan base-package="net.roseindia.controller" />

<bean id="viewResolver"
class="org.springframework.web.servlet.view.InternalResourceViewResolver">
<property name="prefix">
<value>/views/</value>
</property>
<property name="suffix">
<value>.jsp</value>
</property>
</bean>
<bean id="multipartResolver"
class="org.springframework.web.multipart.commons.CommonsMultipartResolver">
</bean>
</beans>
In the dispatcher servlet file we mainly specify the location of the location of the controller class and we map the .jsp files to the view resolver.
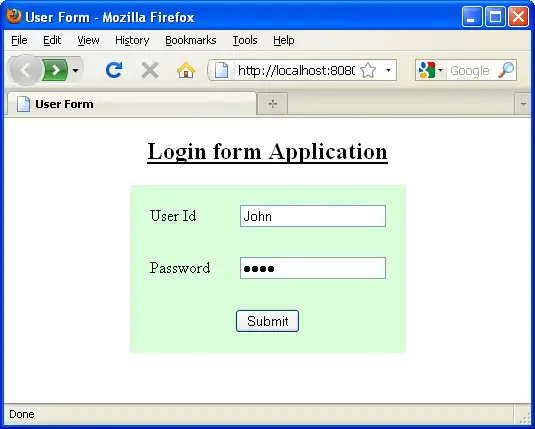
Now write the login Page as
userForm.jsp
<%@ taglib uri="http://www.springframework.org/tags/form" prefix="form"%>
<html>
<head>
<title>User Form</title>
</head>
<body>
<u><h2 align="center">Login form Application</h2></u>
<center><form:form action="welcomePage.htm"
commandName="userForm" method="post">
<table bgcolor="#D8FFD8" cellpadding="10" cellspacing="10">
<tr>
<td>User Id</td>
<td><form:input path="userId"></form:input></td>
</tr>
<tr>
<td>Password</td>
<td><form:password path="password"></form:password></td>
</tr>
<tr>
<td colspan="2" align="center"><input type="submit" value="Submit"></input></td>
</tr>
</table>
</form:form></center>
</body>
</html>
And then write the welcomePage.jsp as
welcomePage.jsp
<center><font face="arier" size="10" color="#CCFF33"> Welcome ${userForm.userId}</font></center>
After this you need to specify the model class, as you know the model class is POJO (Plain Old Java Objects).
UserForm.java
package net.roseindia.model;


public class UserForm {
	private String userId;
	private String password;

	public String getUserId() {
		return userId;
	}

	public void setUserId(String userId) {
		this.userId = userId;
	}

	public String getPassword() {
		return password;
	}

	public void setPassword(String password) {
		this.password = password;
	}

}
After this write the controller class as
FormController.java
package net.roseindia.controller;

import java.util.Map;

import javax.validation.Valid;

import net.roseindia.model.UserForm;

import org.springframework.stereotype.Controller;
import org.springframework.web.bind.annotation.RequestMapping;

@Controller
public class FormController {

	@RequestMapping("/userForm.htm")
	public String openForm(Map model, @Valid UserForm userForm) {
		return "userForm";
	}

	@RequestMapping("/welcomePage.htm")
	public String responseRequest(Map model, @Valid UserForm userForm) {
		if(userForm.getUserId().length()>0 && userForm.getPassword().length()>0){
			if(userForm.getPassword().equalsIgnoreCase("rose")){
				return "welcomePage";
			}
		}
		return "userForm";
	}
}
In the above controller you will see two methods with the RequestMapping annotation. This annotation specify the request URL. It first matches the request URL is the request URL is equal to the mapping RequestMapping URL then it returns a string. In the returned String the .jsp file is added and this JSP file is searched in the /views/ location which is mapped in the view resolver. In the methods Argument the @Valid UserForm represents the form model and its data.
When you run this application it will display message as shown below:
 |