
How to Install Spark on Ubuntu 18.04 and test?
Installing Apache Spark latest version is the first step towards the learning Spark programming. In this section we are going to install Apache Spark on Ubuntu 18.04 for development purposes only. This installation is in standalone mode and runs only on one machine. For production it is deployed in clustered mode over a number of nodes for distributed and large scale processing of data. Apache Spark can be installed in standalone mode, YARN and Mesos mode in the production deployment. In production cluster it is mostly secured with Kerberos security and can only be accessed from the authorized node (computer) for submitting the job.
For learning purpose we will install Ubuntu 18.04 operating system on Oracle VirtualBox and then on this operating system we will install Apache Spark for writing application code. In case of production; code from the development machine is packaged into deployable package and submitted on Spark Cluster as Spark Job.
Here are steps to install Apache Spark on Ubuntu 18.04 for development. For development and learning purpose you can install Ubuntu on the Oracle Virtualbox in Windows 10 operating system. This method is easy method for getting started with the Apache Spark.
Step 1: Install Oracle Virtualbox
Oracle Virualbox software allows you to run many OS vms from the host operating system. This is the best way to install Ubuntu in the OracleVirtualbox as vm and then use this os for installing Spark. This installation can be easily used as development machine. This way you don't need extra machine for installing Ubuntu OS and you can use your same Windows laptop to run other operating system.
If you don't know How to install Oracle Virtualbox in Windows then check tutorial Download and install Oracle Virtual box.
After installing OracleVirtualbox in your computer you can proceed with the installation of Ubuntu 18.04 on OracleVirtualbox.
Step 2: Install Ubuntu 18.04 on OracleVirtualbox
Now you can download ISO of Ubuntu 18.04 and and install on the OracleVirtualbox. You can create one VM for Ubuntu and then install it using the downloaded ISO file. After installation restart vm and then login into your Ubuntu 18.04 system.
Step 3: Open Ubuntu terminal and add the Java PPA
From the Java PPA we can download and install Oracle Java 8 using the apt tool of Ubuntu. So, here is the command to add necessary ppa to the OS system:
sudo apt-add-repository ppa:webupd8team/java
Run the above command in the terminal and then press enter. After this we can proceed to the next step.
Step 4: Update system
The next step is to update the system, run the following command:
sudo apt-get update
Step 5: Install the Java installer
Now we are ready to install Java 8 on the Ubuntu 18.04, run following command in the terminal:
sudo apt-get install oracle-java8-installer
Above command will download Java installer and will ask few questions during installation process. Just answer it and complete the Java 8 installation.
Step 6: Check Java installation
Before proceeding with the Spark installation check Java installation. Its simple just run the following command in terminal:
java -version
Above command should print Java version with few more details. After checking this we can proceed with the installation of Apache Spark 2.4.0 on Ubuntu 18.04 Operating System.
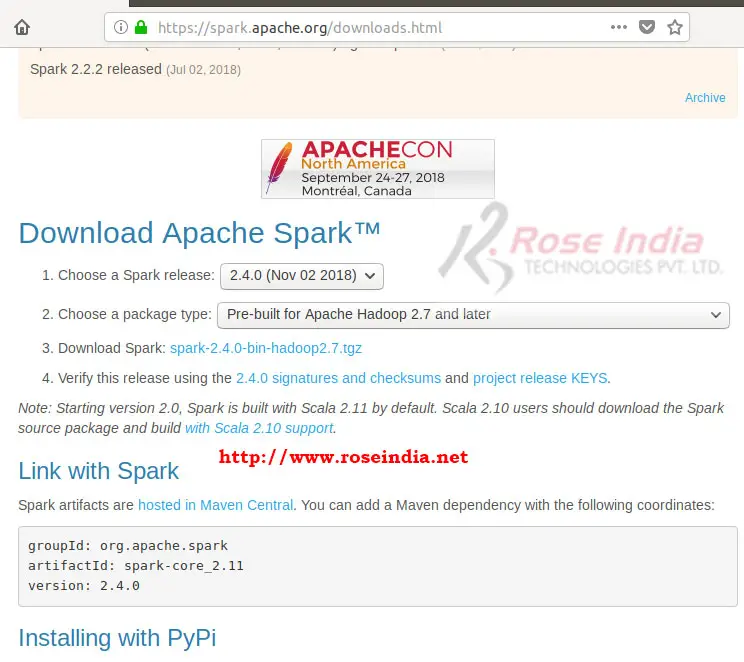
Step 7: Download Spark 2.4.0
First of we can to download the spark-2.4.0-bin-hadoop2.7.tgz file which is
the distribution of Apache Spark (based on Hadoop) for running our sample
program described in this tutorial. You can download it from Apache Spark
official website.
Visit the website https://spark.apache.org/downloads.html and here you will find
the link to download Apache Spark 2.4.0 as shown below:
Step 8: Install Apache Spark 2.4.0
Now we should create a new directory for extracting and running spark:
mkdir spark
cd spark
Then move downloaded file into spark folder:
mv Downloads/spark-2.4.0-bin-hadoop2.7.tgz .
Extract spark-2.4.0-bin-hadoop2.7.tgz with following tar command:
tar -xzvf spark-2.4.0-bin-hadoop2.7.tgz
Step 8: Running PySpark shell
Go inside bin directory of spark:
cd spark-2.4.0-bin-hadoop2.7/bin
To run pyspark console type following command in the bin directory of Apache Spark: 0
./pyspark
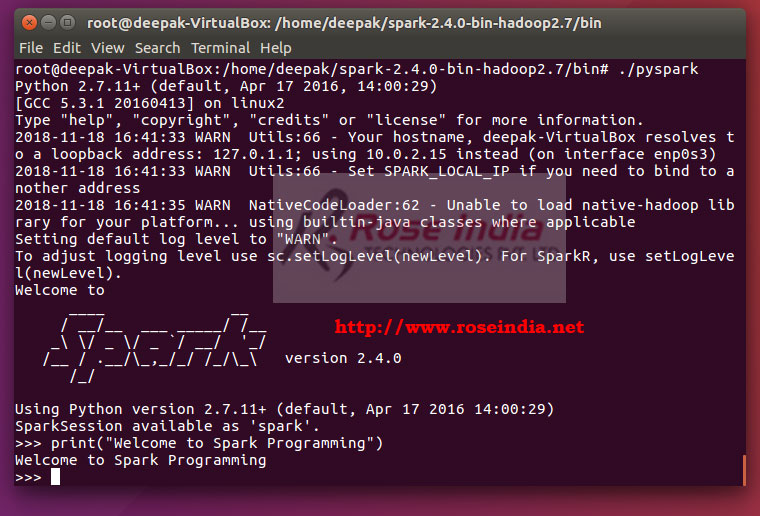
This will open the PySpark shell. How we can write PySpark program and test.

Step 9: Testing python program in PySpark shell 1
For simplicity you can write print command and it will spring the message on the console.
>>> print("Welcome to Spark Programming")
Welcome to Spark Programming
>>>
Here is the screen shot of the same:
 2
2
Now to exit from the PySpark shell type the exit command:
exit()
In this tutorial we have learned to download, install and then test Apache Spark 2.4.0 in Ubuntu operating system. In next tutorials we will start learning more about Apache Spark with the help of many more examples.
Check Tutorials at: Apache Spark Framework programming tutorial. 3